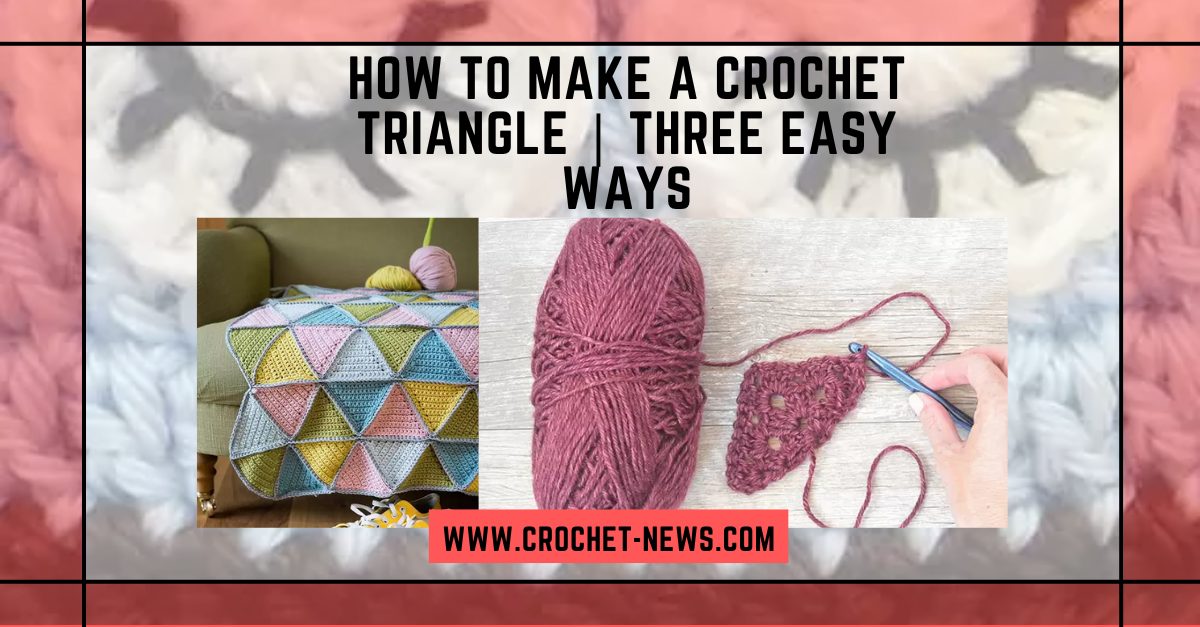
We’re pretty sure you know how to make rectangles using crochet, but do you know how to crochet a triangle?
We’re all familiar with crocheting a rectangle since it’s probably how most of us learned how to crochet. Do you remember repeating the same stitches row after row when you were starting out with crochet?
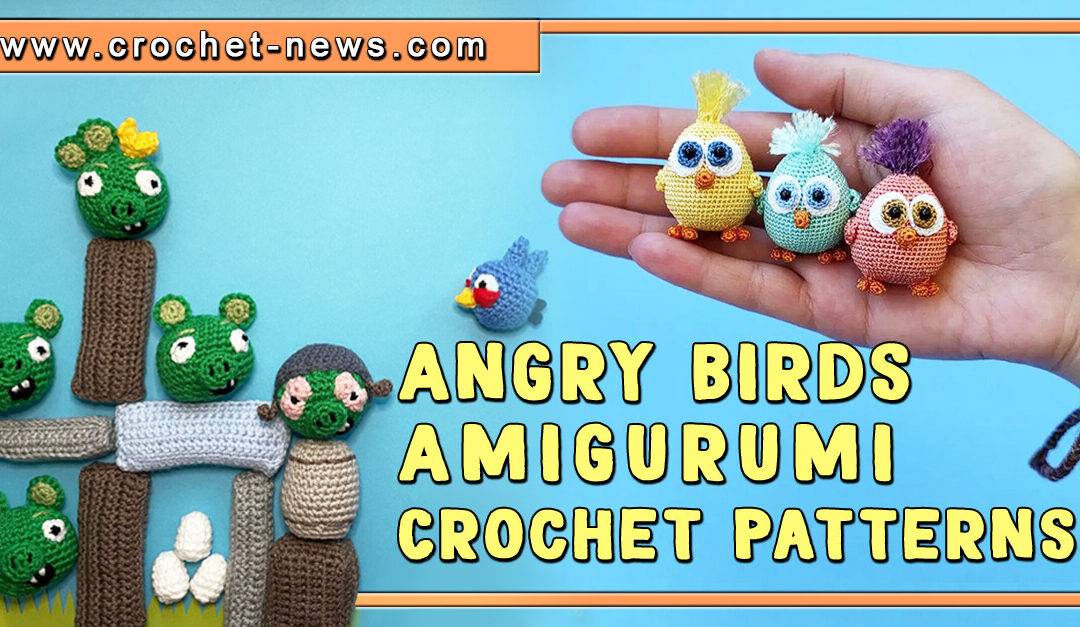
You’ll also notice that the usual scarf and blanket patterns are rectangular. For instance, these scarf and blanket are just rectangles with additional details to make them more appealing.
Just like rectangles, crochet triangles can also be used in a lot of crochet projects. The tiny triangles can be used as a finishing detail to amigurumi. Big triangles, on the other hand, can be made into scarves.
For a change, why don’t we learn how to crochet a triangle? It’s really easy, plus we prepared three easy-to-understand methods you can follow to make a crochet triangle.
Materials Needed to Crochet A Triangle
If you have the basic materials to make a crochet project, you’re definitely ready to make your own crochet triangle!
We created a list of materials you’ll need so you won’t miss anything:
- Worsted weight yarn
- Hook – Guide to crochet hook sizes
- Tapestry needle to weave in ends
Do you have everything you need to make a crochet triangle?
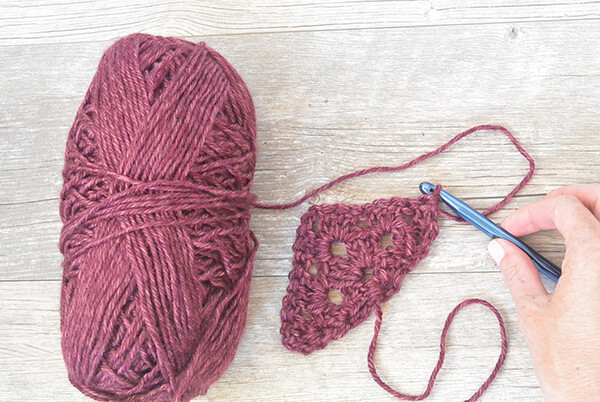
Stitches Needed to Crochet a Triangle
The stitches you need to know to make a crochet triangle depends on the method you’ll try. Here are the stitches you’ll use in making a crochet triangle:
- Magic ring
- Chain stitch
- Single crochet stitch
- Single crochet two stitches together – You can refer to this video to learn how to single crochet two stitches together.
- Slip Stitch
- Single crochet three stitches together – Check out this video to learn how to single crochet three stitches together.
Three Ways to Crochet a Triangle
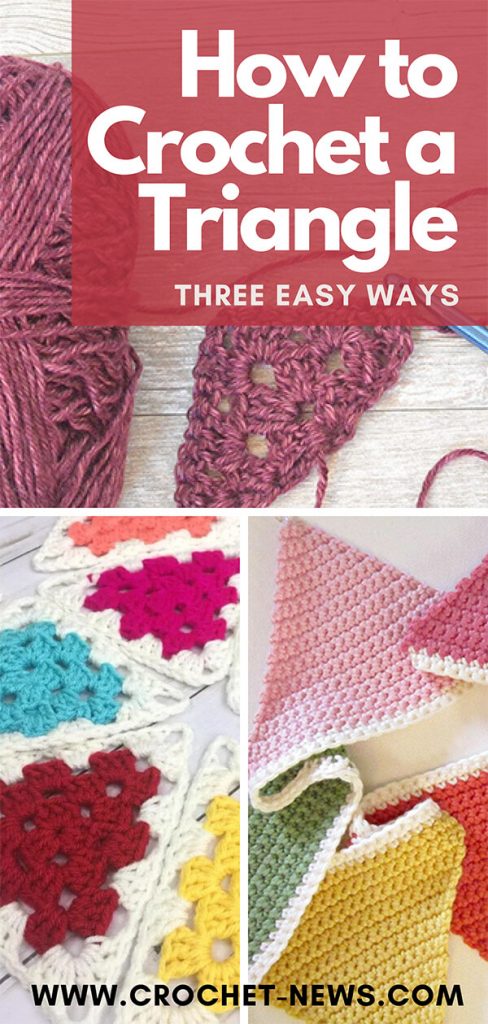
There are different ways on how to crochet a triangle. But for this article, we’ll be going through three of them, crocheting in rows, crocheting in rounds, and crocheting a granny triangle.
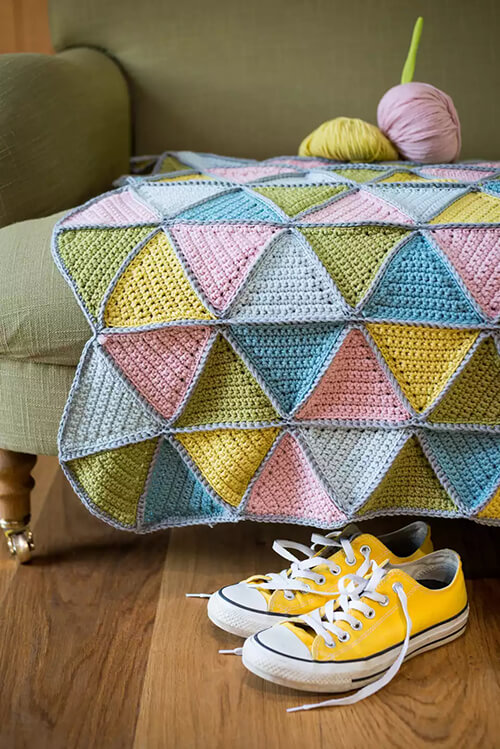
1. Crochet in Rows
Crocheting a triangle in rows is possibly the easiest among the three ways. Aside from we’re all used to crocheting projects in rows, you just have to increase or decrease your stitches in each row to form a triangle.
When crocheting in rows, you can start either at the tip of the triangle or at the base of the triangle. It all depends on what you’re planning to make.
For example, if you need to make something big and you don’t know how big you want it to be, it’s better to start at the tip of the triangle. This way, you can just increase your stitches per row until you reach your desired size.
On the other hand, if you already know the exact size of the triangle you’re making, starting at the base would be perfect. You’ll start with a defined number of stitches and decrease per row until you get to the tip.
For this article, we’ll focus on crocheting a triangle from the base to the tip. Are you ready to start crocheting?
2. Crochet Triangle Pattern From Base to Tip
To start making the triangle, chain (ch) 14.
Row 1:
single crochet (sc) in the 1st chain from the hook and sc on each stitch until the end of the row. (13 stitches)
Row 2:
Ch1, and turn.
We’ll start to decrease the number of stitches. To do this, single crochet two stitches together (sc2tog) then sc in the next 9 stitches. Sc2tog. (11 stitches)
Row 3:
Ch1, and turn.
Sc in all of the stitches. (11 stitches)
Row 4:
Ch1, and turn.
Sc2tog, sc in the next 7 stitches, sc2tog. (9 stitches)
Row 5:
Ch1, and turn.
Sc in all of the stitches. (9 stitches)
Row 6:
Ch1, and turn.
Sc2tog, sc in the next 5 stitches, sc2tog. (7 stitches)
Row 7:
Ch1, and turn.
Sc in all of the stitches. (7 stitches)
Row 8:
Ch1, and turn.
Sc in all of the stitches. (7 stitches)
Row 9:
Ch1, and turn.
Sc2tog, sc in the next 3 stitches, sc2tog. (5 stitches)
Row 10:
Ch1, and turn.
Sc in all of the stitches. (5 stitches)
Row 11:
Ch1, and turn.
Sc2tog, sc in the next stitch, sc2tog. (3 stitches)
Row 12:
Ch1, and turn.
Sc in all the stitches. (3 stitches)
Row 13:
Ch1, and turn.
Single crochet 3 stitches together.
And there you have your crochet triangle! It’s so easy, isn’t it?
How to Crochet a Triangle from Base to Tip Video Tutorial
If you’re more of a visual learner, we found this video tutorial on how to create a crochet triangle that can surely help you.
3. Crochet in Rounds
Another way of crocheting a triangle is by working in rounds. Here’s a step by step guide on how to do it.
Start by making a magic ring.
Round 1:
Ch1 and make 5 single crochet (sc) in the ring. Slip stitch (sl) on top of the first sc.
Round 2:
Ch1, 2 sc in the same stitch. Sc in the next stitch, then * 3 sc in the next stitch, sc in the next * work from * to * twice. Sl in the first sc to join.
Round 3:
Ch1, 2 sc in the same stitch. Sc in each of the next stitch 3 stitches, then * 3 sc in the next stitch, sc in the next 3 stitches * work from * to * twice. Sl in the first sc to join.
Round 4:
Ch1, 2 sc in the same stitch. Sc in each of the next stitch 5 stitches, then * 3 sc in the next stitch, sc in the next 5 stitches * work from * to * twice. Sl in the first sc to join.
Round 5:
Ch1, 2 sc in the same stitch. Sc in each of the next stitch 7 stitches, then * 3 sc in the next stitch, sc in the next 7 stitches * work from * to * twice. Sl in the first sc to join.
Round 6:
Ch1, 2 sc in the same stitch. Sc in each of the next stitch 9 stitches, then * 3 sc in the next stitch, sc in the next 9 stitches * work from * to * twice. Sl in the first sc to join.
Round 7:
Ch1, 2 sc in the same stitch. Sc in each of the next stitch 11 stitches, then * 3 sc in the next stitch, sc in the next 11 stitches * work from * to * twice. Sl in the first sc to join.
Crochet a Triangle in Rounds Video Tutorial
Were you able to follow along? If you prefer to crochet along video tutorials, you can watch this video.
Granny Triangle Crochet
We recently released an article about granny crochet squares, but did you know that you can also make granny triangles?
Crochet Granny triangle look just like granny squares, but it only has three sides. They’re also just as easy to make too!
If you want to level up your triangles, this granny triangle is the pattern you need! Are you up for the challenge?
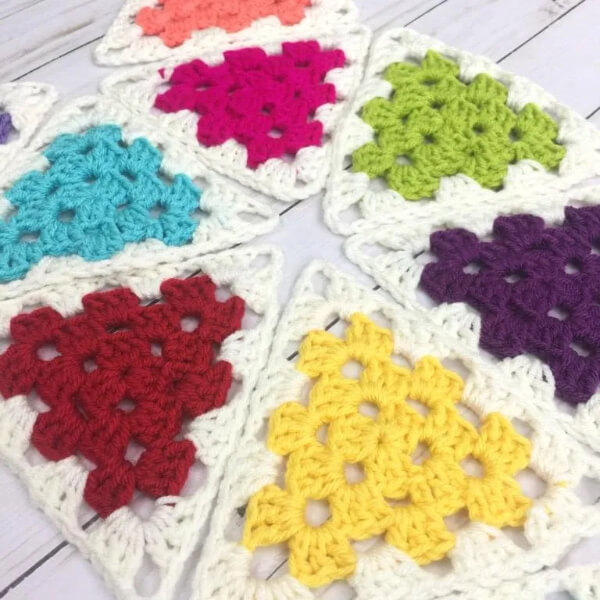
Granny Triangle Pattern
Round 1:
Chain (ch) 4 and slip stitch (sl) to the first stitch. Ch 6, this will be your double crochet and your ch 3 corner. Make 3 double crochets (dc) in the ring.
Ch 3, 3 dc into the ring. Ch3, then 2 dc into the ring.
Sl to the 3rd chain of the ch 6 you made at the start of the round.
Round 2:
(ch 3, 2 dc, ch 3, 3 dc) in the first ch 3 corner from the previous row.
* ch 1, (3 dc, ch 3, 3 dc) * do this pattern in the next two ch 3 corners.
Ch1, then sl into the top of the ch3 at the beginning of the round.
Round 3:
ch 3, (2 dc, ch 3, 3 dc) into the first ch 3 corner from the previous row.
*ch 1, 3 dc in ch 1 space* repeat this pattern until you reach the next ch 3 corner.
(3 dc, ch 3, 3 dc) in the ch 3 corner.
*ch 1, 3 dc in ch 1 space* repeat this pattern until you reach the next ch 3 corner.
(3 dc, ch 3, 3 dc) in the ch 3 corner.
To complete this round, ch 1, 3 dc in ch 1 space, ch 1. Then sl into the top of ch 3 at the beginning of the round.
Now you have your granny triangle! If you want to increase the size of your triangle, you just have to repeat round 3 until you reach your desired size.
If you want your triangles to lay perfectly flat, you can pin them on your ironing board and steam block them. To do this, hover your steam iron over your triangle for a few seconds and press the steam button.
Make sure the iron is not touching the yarn.
Crochet a Granny Triangle Video Tutorial
Exciting Crochet Triangle Projects
Crochet triangles can be used in different projects. No matter what size you make, there will surely be a project where you can use it! You want to make certain your edges are perfectly even so check out our tutorial on how to crochet a straight edge every time and how to weave on crochet ends.
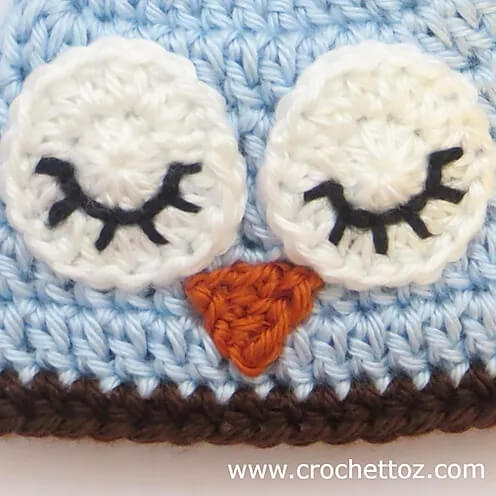
Thinking of what projects use tiny triangles? Tiny crochet triangles are great for amigurumi. You can use it as an owl or as a bird’s beak.
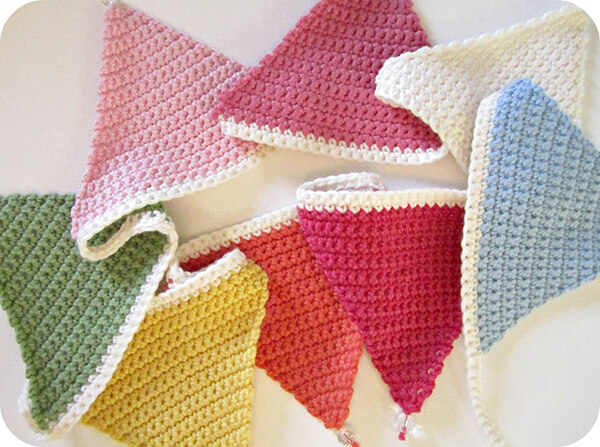
If you made a normal-sized one, you can make a crochet triangle bunting instead! Make it in different colors and hang them on your wall as decoration.
For our crocheters who’s up for a more challenging project, you can try making a granny triangle shawl! There’s a video you can crochet along with so it will be easier to complete the shawl.
We’d Love to See Your Works using Crochet Triangles!
We’re excited to see how your crochet triangles turned out! In fact, we’d love to see the projects you made using the crochet triangles.
Share your works with other crocheters by posting your finished works on our Facebook Page! While you’re at it, follow our Facebook Page so you’ll be updated when we post new articles.
Looking for other crochet how-to tutorials? Check out this article about how to crochet a ball, how to make a crochet cord, and How To Crochet Invisible Join When Working with Rounds.
We hope you had fun learning how to crochet a triangle. Let us know what else you want to learn how to crochet!

