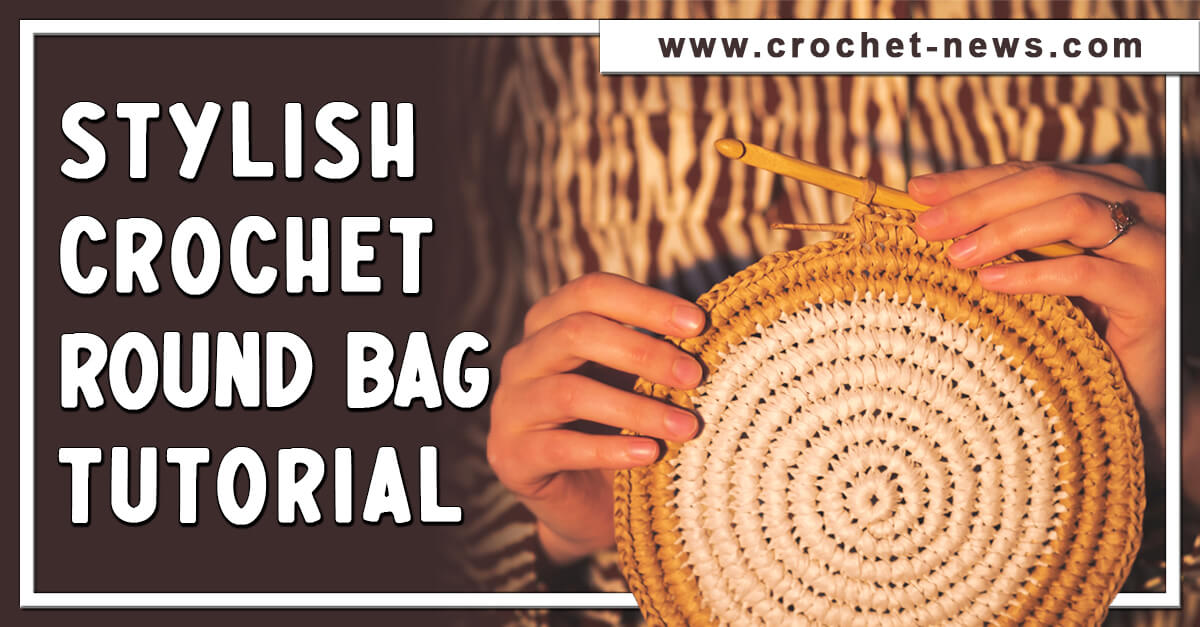
Show off your crocheting skills by creating this stylish crochet round bag. This free crossbody handbag design utilizes thick rope as a basis to create coiled sides covered in a single crochet. The sides and strap flex just enough to make it comfortable to wear while carrying all of your things. It can be paired with some stylish outfits and even your lab diamond rings.
If you’ve never crocheted around a rope before, it feels different from regular crochet, and you’ll need to adjust to the strain.
To keep the stitches snug (and nothing from slipping out of the bag), the recommended hook is smaller than normal. Because of these elements, crocheting may be rather strenuous at times. However, it is still simple enough for crocheters who understand the fundamentals of crocheting.
What You Will Need for the Round Bag Crochet Tutorial
Tools
- Crochet hook size I/9 (5.5mm).
- Sewing needle
- Large tapestry needle
Materials
- Ten yards 9mm braided cotton rope.
- Two skeins of cotton yarn (about around 300 yards of medium-weight cotton yarn)
- Shank-back button
- Thread
Step by step Crochet Round Bag Tutorial
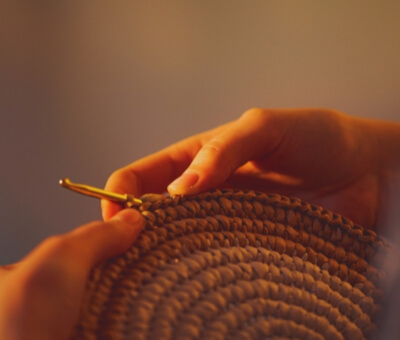
- Prep the rope
Cut the rope in half, yielding two five-yard lengths. Curl one end of a length of rope to form a tiny ring. Use a sewing needle and matching thread to secure the rope ring.
- Attach the yarn to the rope
Hold the rope so that it coils to the left. Tie the yarn to the rope and create a loop in its center.
- Start crocheting around the rope
Round 1: Starting at the rope ring’s connected point, single crochet 9 stitches around it.
Round 2: Working around the rope, single crochet three stitches into the initial stitch of round one. Single crochet two stitches in each remaining stitch.
Attach a tiny safety pin to indicate the end of the circle. Move the marker higher with each successive round.
- Continue crocheting the coiled piece
Round 3: Single crochet two stitches into each stitch
Round 4: *Single crochet 2 in the space between the previous round’s two-stitch clusters, chain 1, and skip one stitch. Repeat from *.
Round 5: Single crochet 3 in each chain gap
Round 6: *Skip one stitch, then single crochet two in the next stitch and again in the gap between the previous round’s stitch groups. Repeat from *.
Rounds 7 and 8: Single crochet 2 in each gap between stitch clusters from the previous round.
Round 9: In each gap between the previous round’s stitch clusters, single crochet three times.
Round 10: Skip one stitch, single crochet two in the gap between the previous round’s stitch groups, and single crochet two in the next stitch. Repeat from *.
Round 11: In each gap between the previous round’s stitch clusters, single crochet twice. Repeat until you reach the end of the rope.
- Complete the Crocheting on the Rope.
When the rope reaches the end work as many stitches over it as possible, pressing the end to the back of your crochet.
Work ten single crochet stitches into the stitches from the previous round. Finish off the yarn.
Weave in all of the ends. Make a second coiled piece that matches the first.
- Create the strap and purse sides.
Chain 3s at the start of each row do not count as a stitch. Make your first double crochet in the first stitch of the row.
Chain 15
Row 1: Work 12 double crochets, beginning with the third chain from the hook.
Row 2: Chain 3 and double crochet 12 stitches. Turn.
Repeat row 2 42 times
Row 3: Chain 3, double crochet twice, double crochet eight times. Then turn.
Row 4: Chain 3, double crochet twice, double crochet six times. Turn.
Row 5: Chain 3 and double crochet 8 stitches. Turn.
Repeat row 5 75 times in total.
Row 6: Chain 3, double crochet two stitches into the first stitch, double crochet six times, then double crochet two stitches into the last. Turn.
Row 7: Chain 3, double crochet two stitches into the first stitch, double crochet eight times, then double crochet two stitches into the last. Turn.
Finish off the yarn.
Slip stitch the two ends together, and then weave in the ends.
- Attach the straps and sides.
Hold a coiled component in place with the wrong sides together using the side/strap piece. With the last 10 single crochet stitches on the coiled side, align the spot where the strap transitions from broad to narrow.
Use a slip stitch to connect the broad section of the crocheted band to the coiled side. Stop when the band narrows again.
Repeat on the opposite side of the bag. Weave all of the yarn ends in.
- Make a button closure
Use yarn to sew a shank-style button to the top of one side of the purse. Stitch the button into place using the coil stitches.
Attach yarn to the rear of the bag in the same location as the button. Chain 20, then tie off the yarn. To construct a loop, attach the chain’s end to the purse at the start point.
This loop must be able to fit over the button that holds the bag closed; if you are using a big button, you may need to add more chains to the loop. Before fixing the end, grasp or pin it to confirm that the loop is sufficiently long.
Weave the yarn ends in.
Tips While Crocheting the Crochet Round Bag Pattern
- Start a fresh skein for the second half of the bag to avoid having to change yarn in the middle of the coil. It is simpler to connect additional yarn while constructing the strap piece.
- Although this is stated with exact stitch patterns, you may need to change the stitch clusters as you move around the coils depending on your rope and yarn. The idea is to build flat circles.
- Want a larger or smaller purse? Begin with more or less rope and follow the pattern as closely as possible, making adjustments as required.
- When attaching the strap/sides to the coiled parts, use a contrasting yarn color to create a bright flash of color. It’ll look like pipes.
- Using multicolored yarn creates a fascinating look on the coils.
Here are more collection of patterns for crochet bags:
- Crochet Shoulder Bag Patterns
- Crochet Crossbody Bag Patterns
- Crochet Handbag Patterns
- Crochet Tote Bag Patterns
- Modern Crochet Bag Patterns
- Crochet Makeup Bag Patterns
- Crochet Yoga Mat Bag Patterns
Create Your Own Stylish Bag with this Crochet Round Bag Tutorial
Creating a stylish crochet round bag is a fun and rewarding project that adds a unique touch to your accessory collection. By following this crochet round bag tutorial, you can craft a fashionable and functional bag that showcases your crochet skills and personal style. Happy crocheting

