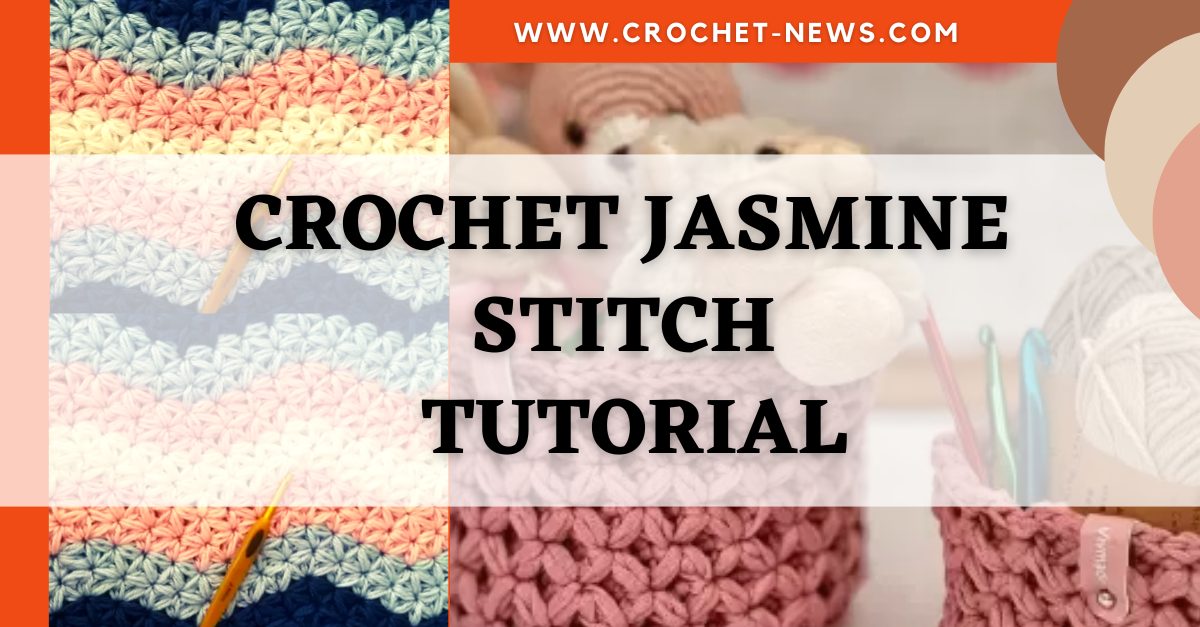
Are you looking for an advanced level stitch that will show off your crochet skills? Then check out the crochet jasmine stitch. The stitch is absolutely gorgeous. And the fabric it creates is thick, warm, and squishy.
What Is the Crochet Jasmine Stitch?
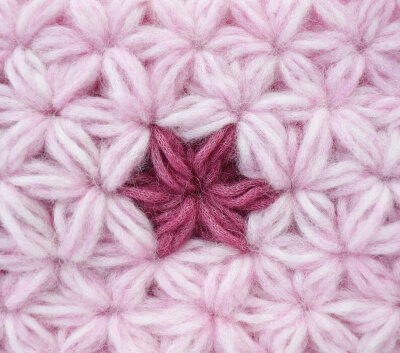
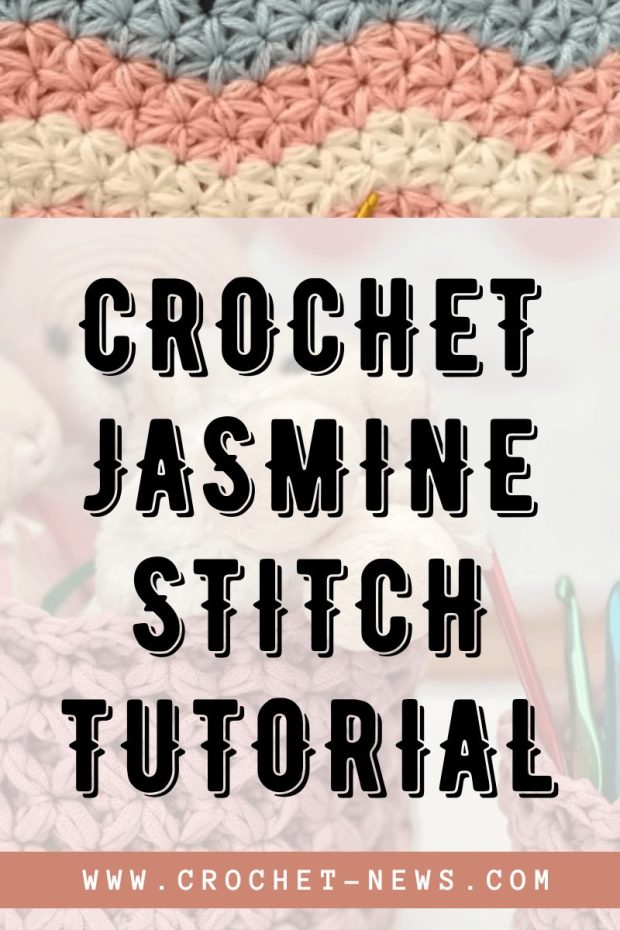
The crochet jasmine stitch is an advanced level crochet stitch. The stitch joins 3 puffed stitches to create a set of petals. The stitch is repeated over and over creating the beautiful flower design.
Projects that Use the Crochet Jasmine Stitch
The crochet jasmine stitch creates a warm, thick fabric. It is ideal for making projects such as:
- Blankets
- Scarves
- Cowls
- Hats
- …and More
How to Make the Crochet Jasmine Stitch
The crochet jasmine stitch is a beautiful stitch that will require a little bit of practice. But once you learn it, you will want to start working on a new pattern. The jasmine stitch is complicated to learn.
I have tried to make the process as easy as possible to understand using standard US crochet terms. There are a lot of separate stitches used to create the crochet jasmine stitch. Be careful not to skip any of them.
Crochet Jasmine Stitch Tutorial:
- Make a slip knot.
- Chain 2.
- Extend the length of the second chain to the height of the puff you want to make.
- Yarn over and insert your hook into the hole of the first chain.
- Pull up a loop to the same height as the previous loop.
- Yarn over and insert your hook into the hole of the first chain.
- Pull up a loop to the same height as the previous loop.
- Yarn over and insert your hook into the hole of the first chain.
- Pull up a loop to the same height as the previous loop. You should now have 7 loops on your hook.
- Pinch the base of the working yarn to hold it in place. Yarn over and pull through all 7 loops. Do not pull the base of the working yarn through.
- Insert your hook into the loop you just created by holding the base of the working yarn. Then make a single crochet.
- Chain 1.
- Extend the length of the chain to the height of the previous stitches. You want all your puffs to be the same size.
- Yarn over and insert your hook into the space beneath the single crochet.
- Pull up a loop to the same height as the previous loop.
- Yarn over and insert your hook into the space beneath the single crochet.
- Pull up a loop to the same height as the previous loop.
- Yarn over and insert your hook into the space beneath the single crochet.
- Pull up a loop to the same height as the previous loop. You should now have 7 loops on your hook.
- Pinch the base of the working yarn to hold it in place. Yarn over and pull through all 7 loops. Do not pull the base of the working yarn through.
- Insert your hook into the loop you just created by holding the base of the working yarn. Then make a single crochet.
- Repeat steps 12-21 until you have your desired width.
- Gently turn the last puff stitch you made upwards. This last puff will count as your “turning” stitch.
- Turn your work.
- Chain 1.
- Lengthen the loop.
- Yarn over and insert your hook into the last single crochet you just made.
- Pull up a loop to the same height as the previous loop.
- Yarn over and insert your hook into the same single crochet.
- Pull up a loop to the same height as the previous loop.
- Yarn over and insert your hook into the same single crochet.
- Pull up a loop to the same height as the previous loop.
- Yarn over and insert your hook into the base of the “turning” puff stitch.
- Pull up a loop to the same height as the previous loop.
- Yarn over and insert your hook into the base of the “turning” puff stitch.
- Pull up a loop to the same height as the previous loop.
- Yarn over and insert your hook into the base of the “turning” puff stitch.
- Pull up a loop to the same height as the previous loop.
- Yarn over and insert your hook into the base of the puff stitch located before the “turning” puff stitch.
- Pull up a loop to the same height as the previous loop.
- Yarn over and insert your hook into the base of the same puff stitch.
- Pull up a loop to the same height as the previous loop.
- Yarn over and insert your hook into the base of the same puff stitch.
- Pull up a loop to the same height as the previous loop.
- You should now have 24 hoops on your hook.
- Pinch the base of the working yarn to hold it in place. Yarn over and pull through all 24 loops. Do not pull the base of the working yarn through.
- Insert your hook into the loop you just created by holding the base of the working yarn. Then make a single crochet. If the center hole of your flower is too big, you can use a slip stitch instead of a single crochet.
- Chain 1.
- Yarn over and insert your hook into the space beneath the single crochet.
- Pull up a loop to the same height as the previous loop.
- Yarn over and insert your hook into the space beneath the single crochet.
- Pull up a loop to the same height as the previous loop.
- Yarn over and insert your hook into the space beneath the single crochet.
- Pull up a loop to the same height as the previous loop.
- Yarn over and insert your hook into the base of the next puff stitch.
- Pull up a loop to the same height as the previous loop.
- Yarn over and insert your hook into the same space as before.
- Pull up a loop to the same height as the previous loop.
- Yarn over and insert your hook into the same space as before.
- Pull up a loop to the same height as the previous loop.
- Yarn over and insert your hook into the base of the next puff
- Pull up a loop to the same height as the previous loop.
- Yarn over and insert your hook into the same space as before.
- Pull up a loop to the same height as the previous loop.
- Yarn over and insert your hook into the same space as before.
- Pull up a loop to the same height as the previous loop.
- Pinch the base of the working yarn to hold it in place. Yarn over and pull through all 24 loops. Do not pull the base of the working yarn through.
- Insert your hook into the loop you just created by holding the base of the working yarn. Then make a single crochet (or the slip stitch).
- Repeat steps 48-68 until you reach the end. The last stitch you work into will be on the very end of the last puff stitch.
- Turn your work, chain 1 and lengthen the loop.
- Yarn over and insert your hook into the eye of the first jasmine flower.
- Pull up a loop to the same height as the previous loop.
- Yarn over and insert your hook into the eye of the first jasmine flower.
- Pull up a loop to the same height as the previous loop.
- Yarn over and insert your hook into the eye of the first jasmine flower.
- Pull up a loop to the same height as the previous loop. You should now have 7 loops on your hook.
- Pinch the base of the working yarn to hold it in place. Yarn over and pull through all 7 loops. Do not pull the base of the working yarn through.
- Insert your hook into the loop you just created by holding the base of the working yarn. Then make a single crochet. This completes your “turning” puff stitch.
- Repeat steps 25-78.
8 Crochet Jasmine Stitch Patterns
The crochet jasmine stitch creates a cute little follower shape. The fabric made with the stitch is thick and drapey. It is a great stitch for making girly winter projects. Below, I have included 8 patterns that use the crochet jasmine stitch.
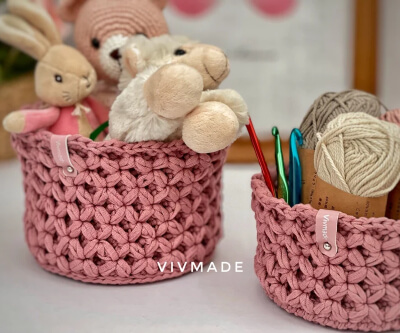
1. Handmade Basket Crochet Jasmine Stitch Pattern by VivmadeCrochet
Little baskets can really come in handy. You can use them for almost anywhere. They are perfect for organizing items such as toys, crochet tools, makeup brushes, and more. It you are looking for a unique handmade gift idea, work up several of these cute little baskets.
This pattern is suitable for an advanced beginner. The base of the basket measures 6.5 inches (16.5 cm) in diameter. You can make the height any size you desire.
Find the Pattern by VivmadeCrochet Here
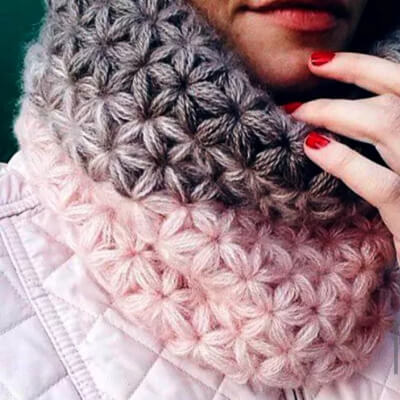
2. Jasmine Stitch Crochet Headband Pattern by FluffyStitchesShop
Here is a quick and satisfying pattern that uses the crochet jasmine stitch. The headband will be a statement piece in your winter wardrobe. It has a beautiful, feminine design.
This is an intermediate level crochet pattern. You will need to be comfortable working with puffy stitches.
Find the Pattern by FluffyStitchesShop Here
3. Galileo Infinity Scarf Jasmine Crochet Stitch Pattern by ComfyCozyWarmThings
The Galileo Infinity is a fun project. Once you get the hang of making the crochet jasmine stitch this scarf will work up quickly. You will definitely want to make several of these in different colours.
Included in the PDF download is a written pattern and photo stitch tutorials. The jasmine stitch creates a thick and warm scarf with an interesting and beautiful design.
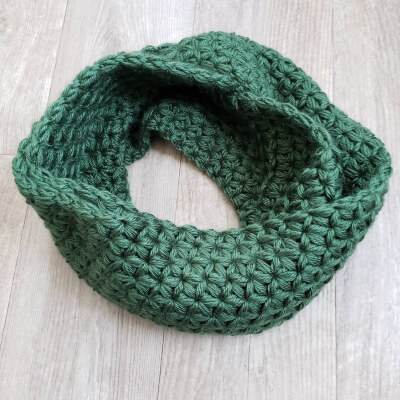
Find the Pattern by ComfyCozyWarmThings HERE
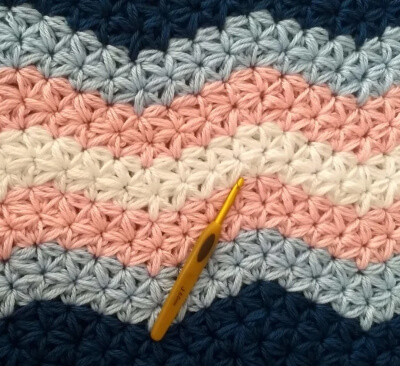
4. Jasmine Stitch Crochet Ripple Blanket Pattern by kickincrochet
The Jasmine Ripple Blanket has a gentle ripple design. You can use any colour combination you choose. Make a bright colourful blanket or a monochromatic blanket. You can even customise the colours for your giftee.
This blanket uses the crochet jasmine stitch increases and decreases. The download includes instructions for the basic jasmine stitch, increases, and decreases. There is also a link to a video tutorial.
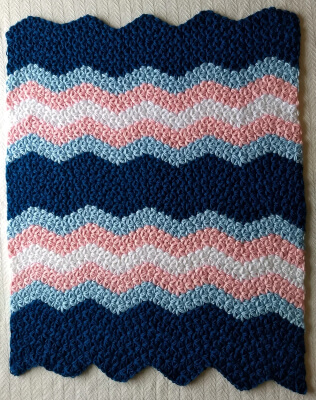
Find the Pattern by kickincrochet Here
5. Crochet Jasmine Stitch Scarf Pattern by FluffyStitchesShop
Make this wonderfully squishy scarf to keep you warm this winter. It has an amazing texture and unbelievably soft feel on the skin. This is an intermediate level crochet pattern. You will need to be comfortable working with puffy stitches.
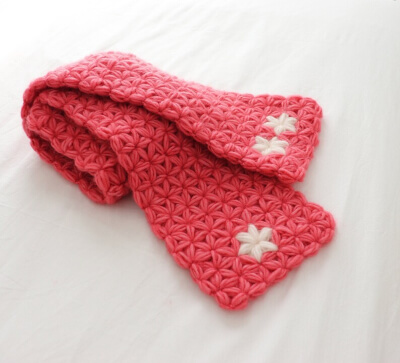
Get the Pattern by FluffyStitchesShop HERE
6. Crochet Dish Cloth Pattern by Moara Crochet
Use this free crochet pattern to make a set of dishcloths. The pattern is perfect for practicing the crochet jasmine stitch before working on a large pattern.
The dishcloths are made using a double layer of crochet jasmine stitch. The texture and thickness are perfect for scrubbing your dirty dishes.
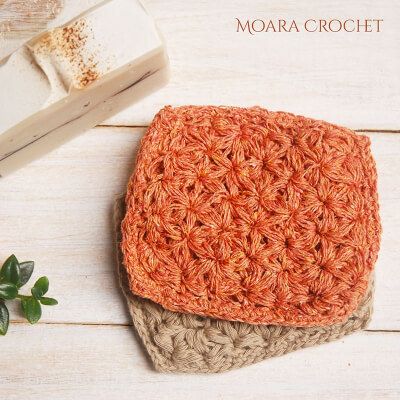
Find the Pattern by Moara Crochet Here
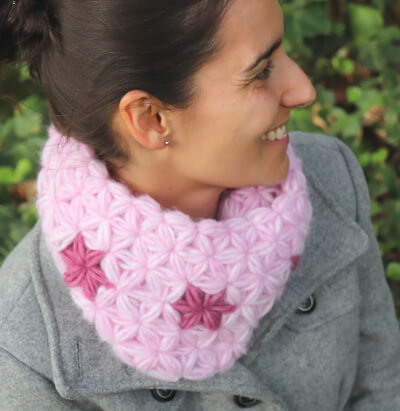
7. Crochet Lovely Jasmine Cowl Pattern by FluffyStitchesShop
This cowl is seamless and reversible. It is made completely in jasmine stitch. The flower pattern makes it both beautiful and feminine. The pattern is suitable for intermediate level crocheters. It is written in US standard terms.
The finished cowl will measure approximately 11.5 inches (29.5 cm) x 6 inches (15 cm).
Find the Pattern by FluffyStitchesShop Here
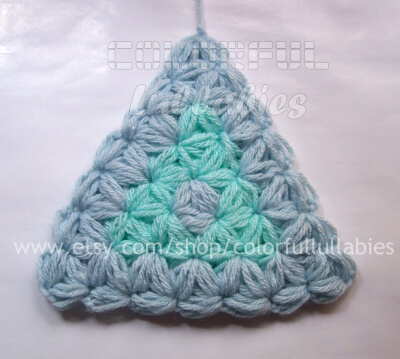
8. Jasmine stitch Triangle Crochet Pattern by ColorfulLullabies
Are you interested in creating an afghan using the crochet jasmine stitch. Here is a pattern to make a triangle block. Using this pattern, you can attach as many of these triangles together to make any size blanket.
The PDF download includes row-by-row descriptions, a chart, and photos. It is available in both US and UK English crochet terms. It is an intermediate level pattern.
Find the Pattern by ColorfulLullabies HERE
Are you ready to start to add an advanced level crochet stitch to your repertoire? Start practicing the crochet jasmine stitch now.
The crochet jasmine stitch is an advanced level stitch. It can be difficult and frustrating to learn. But do not let that stop you. The stitch makes an absolutely gorgeous fabric. And once you master the stitch you will be looking for patterns that use the crochet jasmine stitch.
Here’s more crochet stitch tutorials:
- Iris Crochet Stitch Tutorial
- Crochet Loop Stitch Tutorial
- Crochet Slip Stitch Tutorial
- Fancy Crochet Stitches
If you’ve enjoyed learning the crochet jasmine stitch share your thoughts and experience on our Facebook Page.

