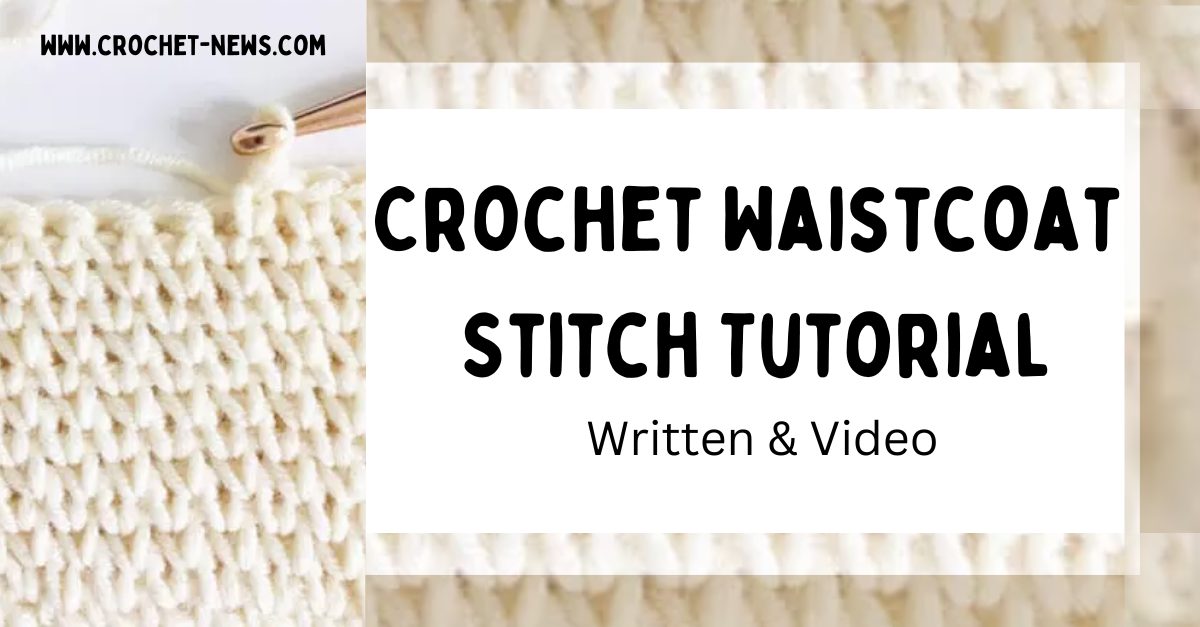
Our tutorial will easily guide you through each step of the crochet waistcoat stitch.
You will be able to add this fun and unusual stitch to your crochet repertoire in no time.
Below you will find our step-by-step guide as well as few patterns to practice your new stitch!
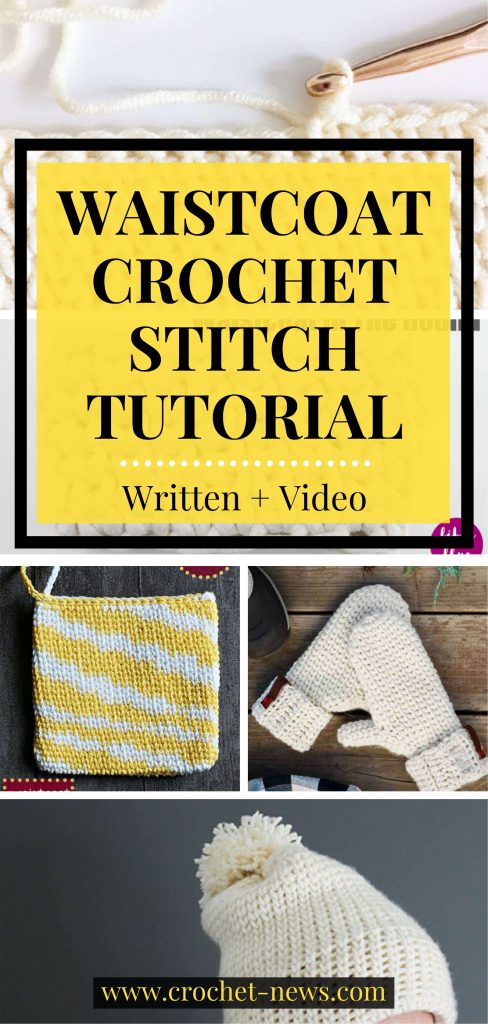
Free Waistcoat Crochet Stitch Tutorial
Another crochet stitch that results in a look akin to the knitted stocking stitch is the waistcoat stitch. If you can work a standard single crochet stitch then you can work this one!
If you’re unfamiliar with the stocking stitch in knitting, it creates a “V” shape-row after row.
Unlike other crochet stitches, the waistcoat stitch looks great on either side when worked in one color. If you work it in two colors, you will have a wrong side and right side.
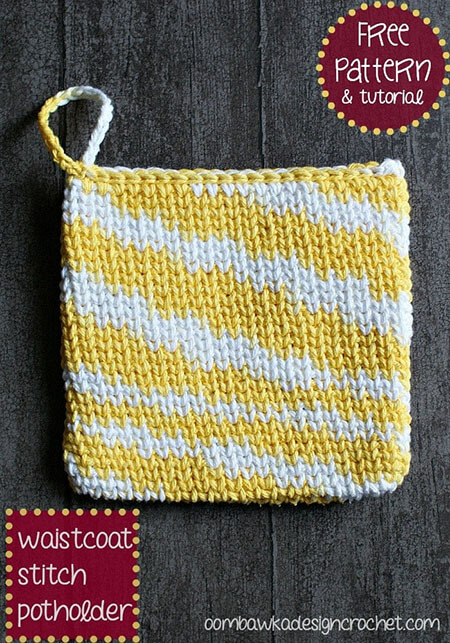
If you need to hide the wrong side, try adding a fabric lining as a perfect solution!
This is a great stitch if you like the look of knitted items, but aren’t keen on knitting itself.
Waistcoat Crochet Stitch Instructions
It is a good idea to keep your stitches loose to make inserting the hook easier. If tension is difficult for you, try using a different size hook.
You can work the crochet waistcoat stitch either flat or in the round.
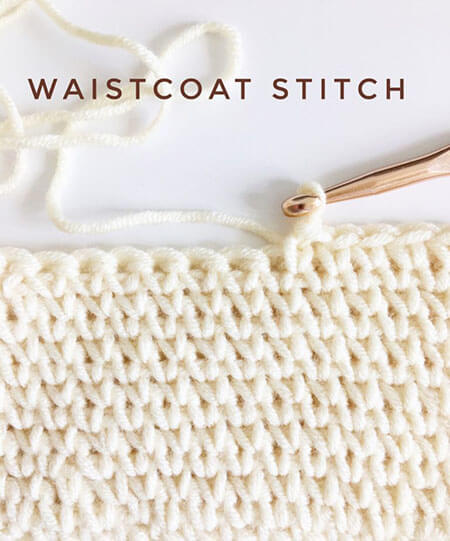
The waistcoat stitch is worked the same as a standard single crochet stitch, except that you will work your stitch inside the single crochet of the previous row. (That’s why you need to keep loose tension!)
Foundation Row: Start off by chaining 25 stitches to create a flat practice swatch, or chaining 6 to begin your first round. Go ahead and make your first round if you’re going to work in the round.
Row 1: Crochet a full row (or round) of single crochet stitches.
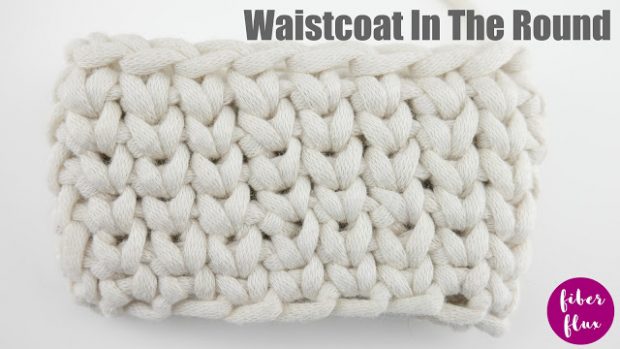
Row 2: Into the first single crochet of the row (or round), insert your hook into the middle of the post. Then make a single crochet. Repeat to this pattern until the end of the row (or round).
Repeat row 2 to your desired length.
This stitch looks particularly wonderful when each row (or round) is worked in a different color, showing off the “V’s” created by this stitch!
Patterns to use the Waistcoat Crochet Stitch
Because this stitch creates a dense finished product it is ideal for crochet handbags. But, the density also helps to keep you warm so it works great for afghans, mittens, and beanies as well!
The dense result also works very well for baskets, potholders, hot pads and placemats. All of which can make quick and unique homemade gifts!
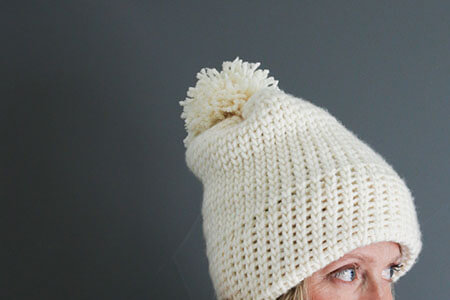
Remember to play with different weighted yarns and sized hooks to come up with even more options!
Share your works with us
Did you enjoy learning a new stitch with this Waistcoat Crochet Stitch Tutorial? We hope you did! If you’re looking for other stitches to learn, we have plenty of choices for you.
You know how we love seeing your works! So head over to our Facebook Page and feel free to post the patterns you worked on using this stitch. Pretty sure others would love to see them too!
We’re looking forward to seeing more of your work using this waistcoat stitch now that you have mastered this stitch using the Crochet Waistcoat Stitch Tutorial!

