Sand Stitch Crochet Tutorial
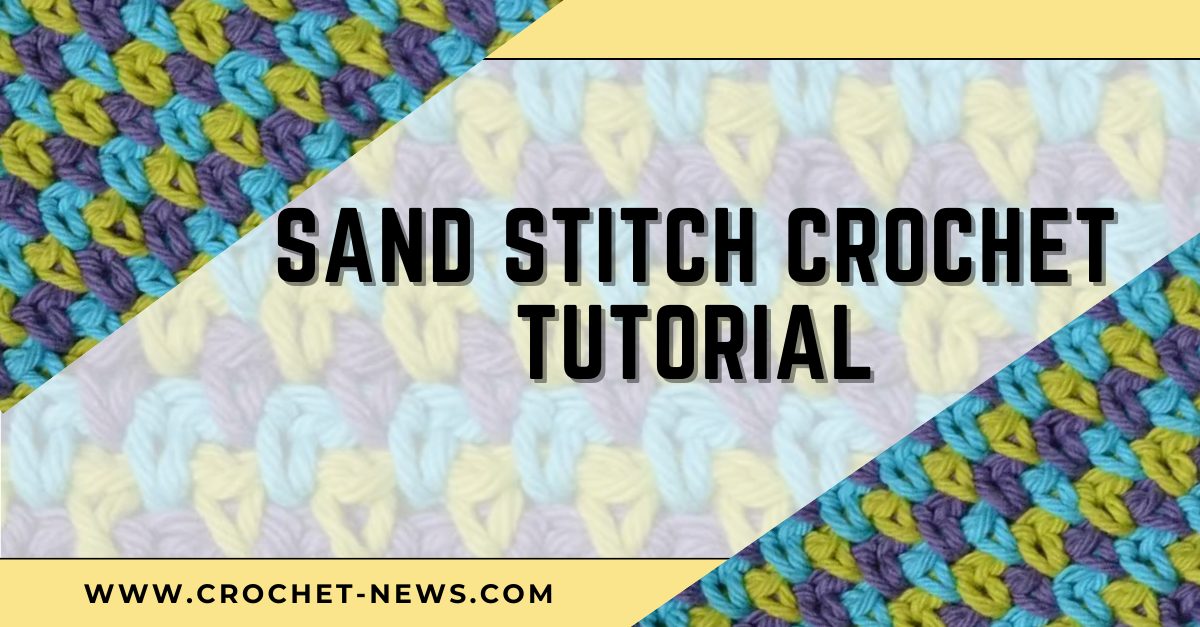
The sand stitch is this weeks Stitch of the week. A nice textured stitch that looks great in rows of different colors. The color from the row above, dips down into the row below.
The sand stitch is a great project to showcase yarns that are bold and fun. Once you get the hang of this simple stitch your project comes together extremely quickly.
Materials needed:
3 Colours of #4 Medium Weight Yarn
5.5 mm Crochet Hook
Scissors
Yarn Needle
Crochet Abbreviations Used in Sand Stitch Crochet Tutorial
SC = Single Crochet
CH = Chain
ST(S) = Stitch(es)
SK = Skip
Notes:
Written in American English Crochet Terms
Gauge: 3 stitches and 3 rows is 1”
Step by step Crochet Sand Stitch Tutorial
- To Start your project, you will need to CH an even number of ST(S).
- For your FOUNDATION ROW choose your first colour. From the hook, SC into the 4th CH.
- CH1
- SK the next ST
- 1 SC into the next CH
- Repeat steps 3,4 & 5 across
- Turn
- Pull the second colour through the loop of the last SC to create ROW 1
- CH 2 (this will your first SC and CH1)
- SK the first SC.
- 1 SC into the next CH
- CH 1
- SK the next SC
- Repeat steps 11,12 & 13 across
- End with 1 SC in CH1
- Turn
- Pull the third colour through the loop of the last SC to create ROW 2
- Repeat steps 9-17 until you have your desired length.
We hope you had fun learning this sand stitch crochet tutorial.
Practice your new stitch, make a very nice afghan or dishcloth, or maybe a striking hat design!
Do you want more? Check out our Rosebud Stitch Crochet Pattern.
Feel free to post your the patterns you worked on using the sand stitch crochet on our Facebook Page
Learn to crochet the Sand Stitch here
Learn More Crochet Stitches Here


