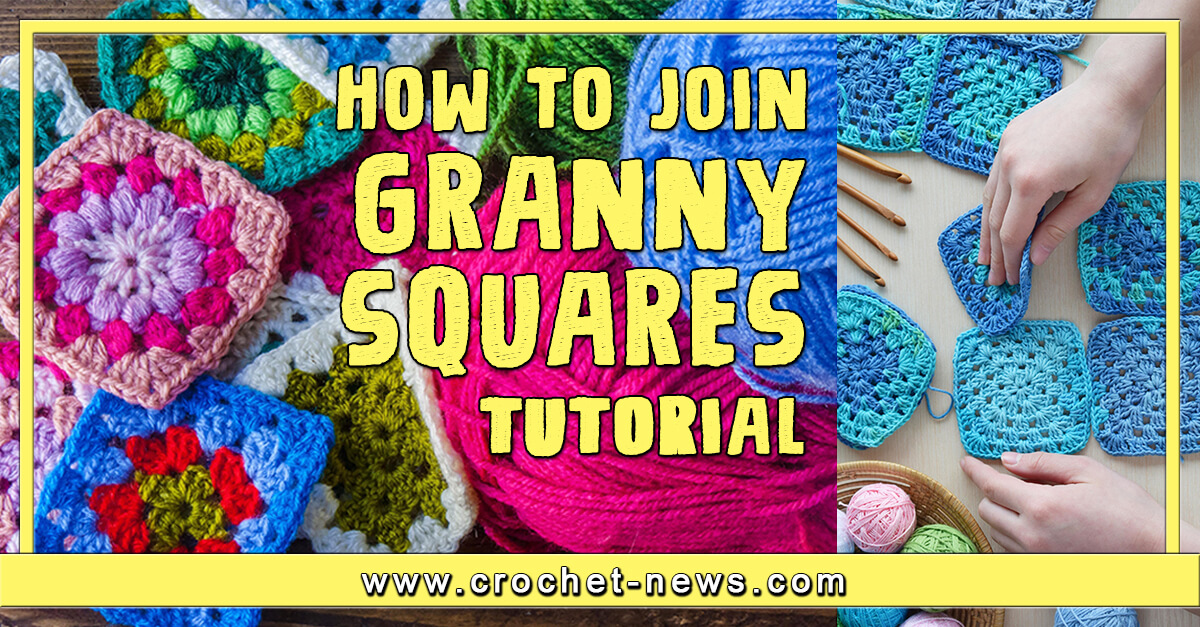
Have you learned how to crochet granny squares? They are great for making quilts and blankets. But how do you join the squares? It is a fairly simple process. Continue reading to learn how to join granny squares.
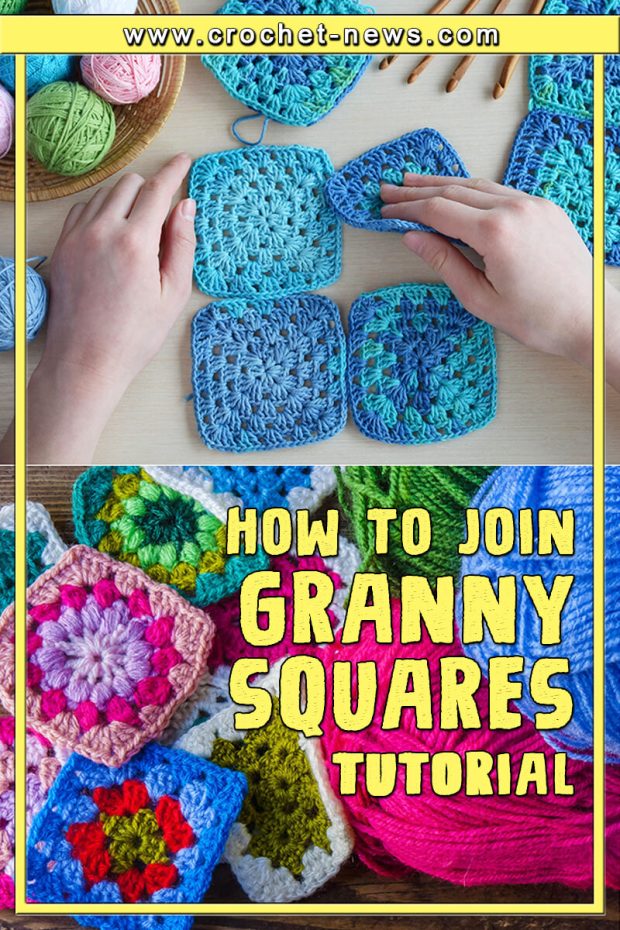
What is a Granny Square?
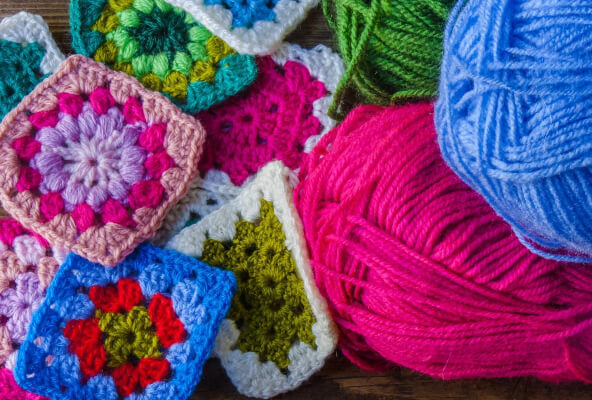
Granny squares are pieces of fabric made by crocheting from the center outward. They usually resemble lace. They were a staple in the crocheting community during the 70s. Today, they are making a huge comeback.
What Can You Make with Granny Squares?
Granny squares are very versatile and can be found in a wide range of projects, such as:
- Blankets
- Quilts
- Tote Bags
- Pillows
- Hats
- Sweaters
- Boho tops
- Ponchos
- Scarfs
- Etc.
How to Join Granny Squares
If you already know how to make the squares, the next step is learning how to join granny squares. If you have never crocheted a granny square before, you can find our How to Crochet Granny Squares for Beginners here.
Our how to join granny squares tutorial will teach you the basic way of joining the squares using the slip stitch method. There are many methods for joining granny squares. We always recommend following the pattern’s recommended method.
You will need:
- Your premade granny squares
- Matching yarn or contrasting yarn (the choice is yours)
- Coordinating crochet hook
- Tapestry needle
How to Join Granny Squares Tutorial
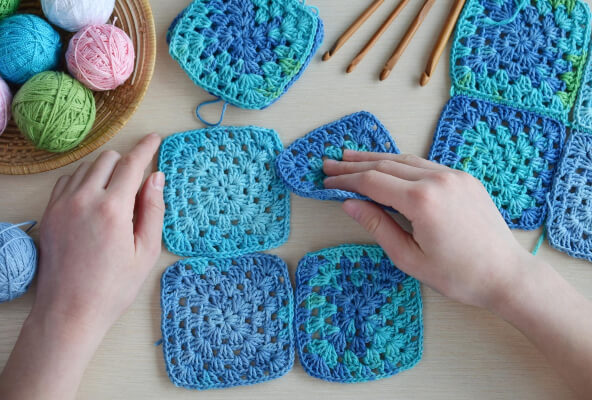
1. Arrange the granny squares into your desired pattern.
2. Decide if you are going to join the squares vertically first or horizontally. You will want to join the squares the same way throughout to get a cohesive design.
3. Grab your first two squares and place them side by side with the right side facing up.
4. We will begin by working into the granny square on the right. Insert the crochet hook into the back loop only of the second chain on the bottom left-hand corner.
5. Now, insert the hook into the back loop only of the second chain on the bottom right-hand corner of the other granny square.
6. Take your yarn and create a slip knit. Slip the knot onto your crochet hook. Keep the working yarn to the back of your project.
7. Gently pull the slip knot through the first loop on the hook, then the second loop.
8. Lightly tug on the working yarn to tighten the two squares together.
9. Insert your hook into the back loop only of the first double crochet on the right granny square.
10. Insert your hook into the back loop only of the first double crochet on the left granny square. You will now have 3 loops on your hook.
11. Yarn over and pull through all 3 loops.
12. Continue working back and forth through the back loops only, creating the slip stitches. When you reach the chain 2 corner, add your slip stitch into the first chain only.
13. Once you get to the end, grab the next two squares. Work into the second chain just as you did in step 4. Continue creating chain stitches and adding squares.
14. When there are no more squares to join, complete the seam by adding slips stitches into both back loops only of the chain 2.
15. Cut a long tail on your working yarn and pull the yarn through with your hook.
16. Grab the tapestry needle and thread the yarn tail through the eye.
17. Weave the yarn back and forth through the seam on the back of the project to secure the thread.
Now You Know How to Join Granny Squares
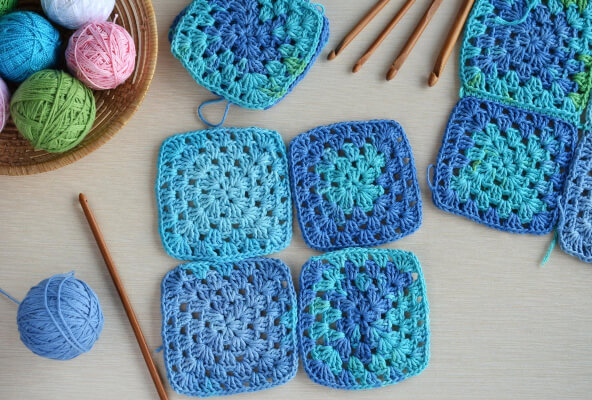
Enjoy making these Crochet Granny Square and Square Patterns and Granny Square Cardigans. After post some photos of your creations on our Facebook Page.
Granny squares are fun projects that work up quickly. Once you have all of them made, it’s time to attach them. Learning how to join granny squares together is even easier than making the granny squares themselves.

