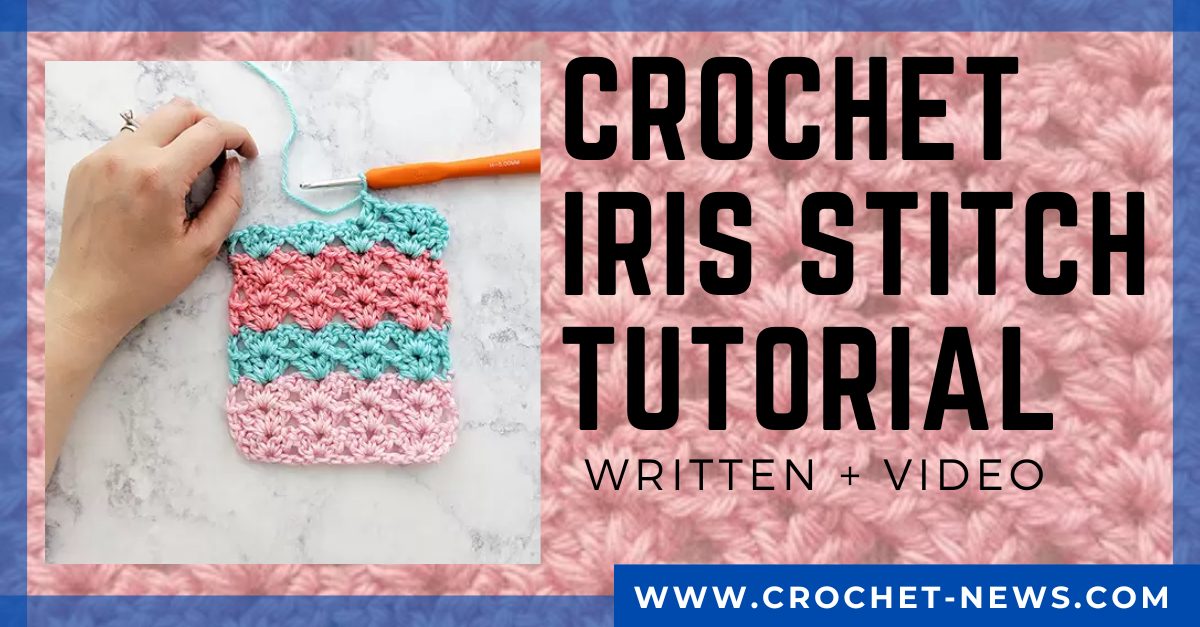
Have you mastered the basic crochet stitches? Are you now on the search for a new stitch that’s not overly complicated? This Iris Crochet Stitch is perfect for you!
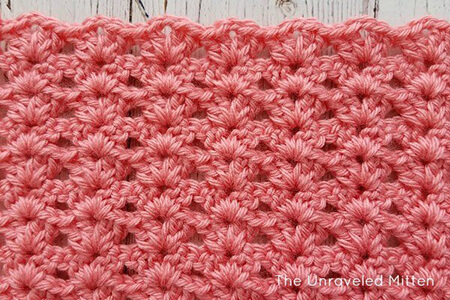
The Iris Stitch Tutorial is a written and video tutorial on how to crochet the Iris stitch to create a light and airy fabric with a beautiful drape easily.
This stitch is so easy to understand and memorize, it’s the best stitch for crochet beginners if they want to step up from the basic stitches. It works up quickly too, you can finish one project in an hour!
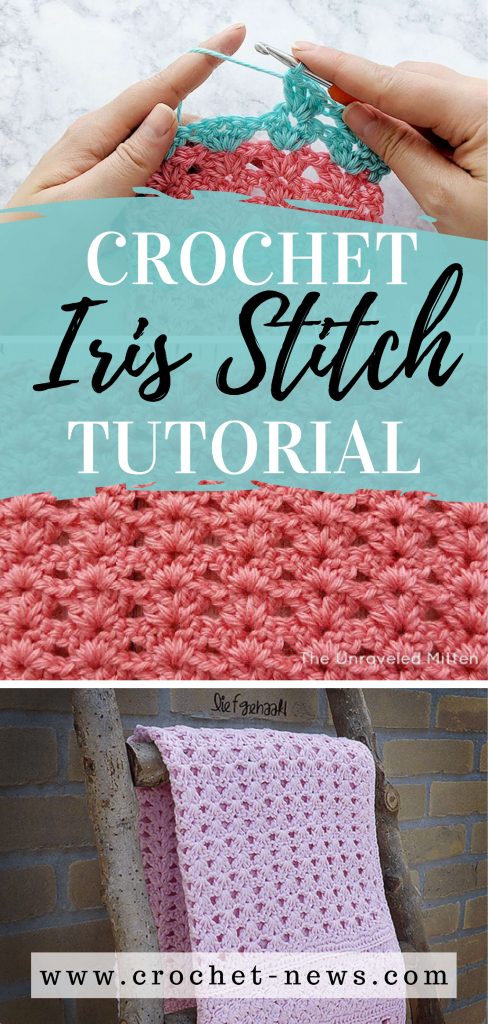
Iris Stitch Crochet Tutorial
If you’re looking for a stitch that creates a light and airy fabric with a beautiful drape, you should definitely try the Iris Stitch Crochet.
Aside from the gorgeous fabric this stitch makes, the Iris Stitch is a crocheter’s go to stitch because it’s simple to do and works up fast. In fact, there’s only one row you have to repeat to make the fabric. Plus, you won’t get lost in counting the stitches since you’ll be working on the spaces.
Since it’s so easy to make once you get the hang of it, you won’t have to pay that much attention while making your crochet project. You can work on it while waiting for your dinner to cook, or even while watching your favorite series!
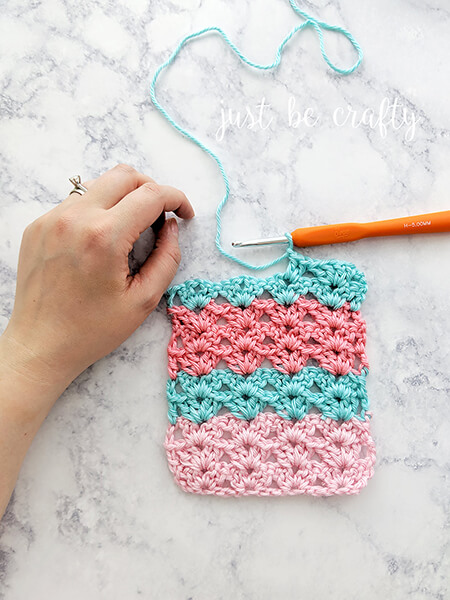
Crochet Iris Stitch Instructions
Note: The Irish stitch in general, goes in multiples of 4. To make the foundation chain, you need to add 3 chains. Follow the instructions below to make a your first Iris stitch:
- Make 23 chains
- For the first row, start with the 5th ch from the hook (2 dc, chain 1, 2 dc). Skip 3 chain stitches. Then, 2dc, chain 1, 2 dc to the next chain. Do this again starting from skip 3 chain stitches until only 2 chain stitches are left. Skip a ch, make a dc in the last ch. Lastly, make a turn.
- For the second row, make 3 chains. Then, 2dc, chain 1 and 2 dc in the following chain 1 space. Do this again from the 2 dc until the end of the row. Lastly, create a dc into the tip of the turning chain from the earlier row.
- Repeat the last bullet until you are satisfied with the length of your stitch.
Patterns to Make Using Crochet Iris Stitch
Just like the other stitches, you can make lots of crochet projects using this stitch. The repeating pattern of this stitch is perfect for scarves, blankets, hats, and sweaters.
But if you want something more pleasing to the eye, you can switch it up a bit by mixing it with other stitches. Aside from this, you can also add variation by working the stitch in stripes.
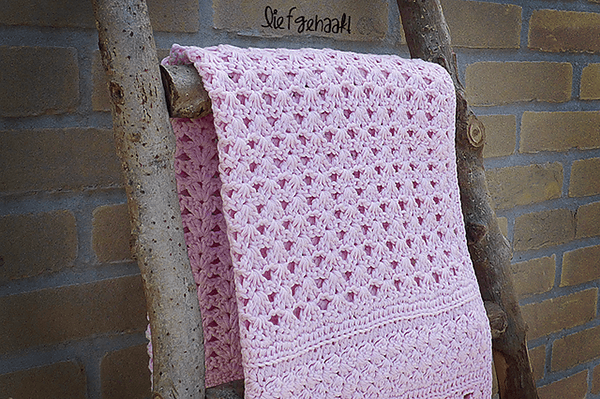
You can also use two yarn colors and work it in alternating rows using the Iris stitch to create a gorgeous scarf. Your bland and boring scarves will be a thing of the past because of the perfect drapes and stunning stripe effect of your new work!
If you want to start small and work on upgrading your old projects, you can also use this stitch as edging. Tired of your old beanie? Add a little twist to it by adding Iris Stitch to its edges and watch it look brand new!
Share Your Crochet Iris Stitch Works With Us!
We love seeing your progress and your works! Head over to our Facebook Page and share your progress, what you’re working on, or even your finished pieces!
If you’re itching to learn another stitch, check out more of our stitch tutorials here.
We hope you enjoyed following this Crochet Iris Stitch Tutorial we made for everyone. Prepare your yarn and hook, and happy crocheting!

